

I found the inspiration for this bag (below) while surfing the net at work. I emailed myself the picture, but neglected to email the source. If you know where this came from please let me know.
 |
| source unknown. if you know the source please comment or email me and I will update. |
I love the squatty, wide shape, the rounded corners, the piping, the eyelet detail, and the striking black bicycle on the front.
Here's how I made my version.
1. Cut four 12 inch by 17 inch rectangles of fabric. Two from your chosen outer bag fabric and two from your chosen lining fabric. I chose a beige denim for my bag fabric and a printed red ticking stripe fabric for the lining. The lining fabric was home decor fabric.

2. Trace and cut a curve template from a piece of paper. Trace the curve onto the bottom two corners of all four fabric rectangles and cut.

3. Instead of a bicycle, I chose to stamp my personal creative mission statement on the front of the bag. I used alphabet stamps and Stayz-On Ink
 to create my design. I marked the middle of the rectangle with disappearing ink to help me center the words.


5. Cut two 37 inch by 7 inch rectangles of fabric. One from the outer fabric and one from the lining fabric. This is the "middle" of your tote bag. Sew the long edge of each rectangle to the bag front and back rectangles, right sides together.

6. Rather than the eyelet detail in the inspiration bag, I chose to incorporate these metal squares into the bag handles. I found these at the fabric store with the handbag making accessories.

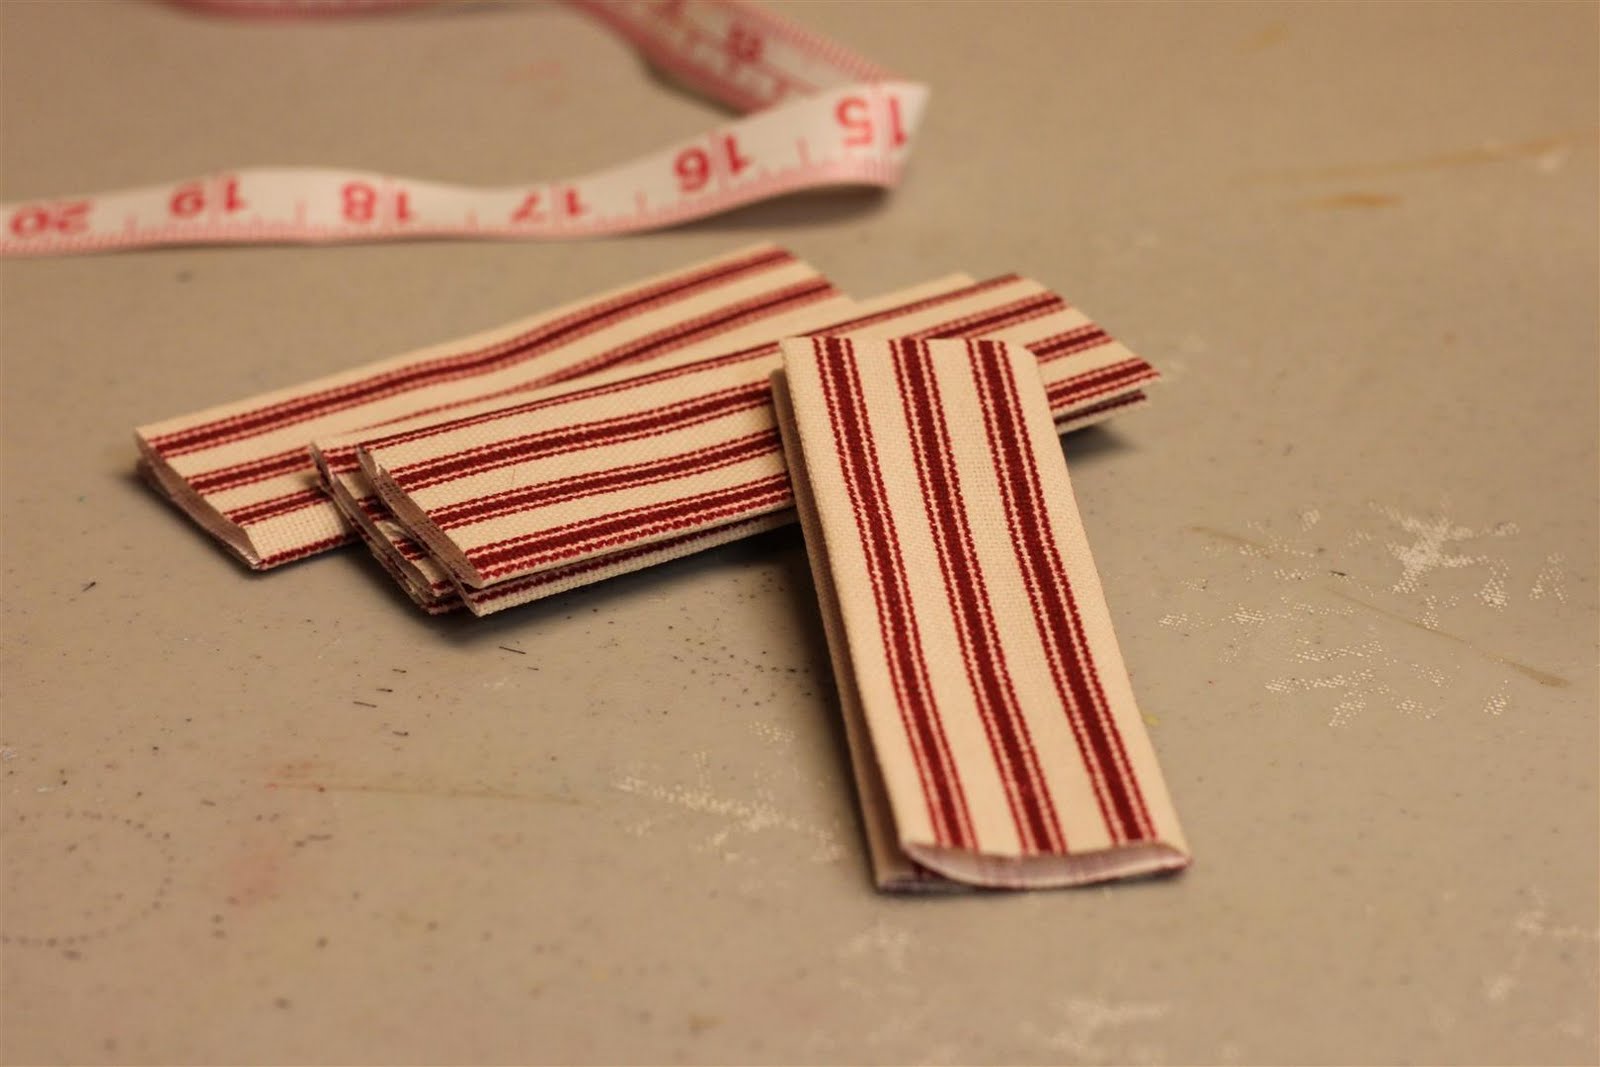
7. Cut four 5.5 inch by 4 inch rectangles of fabric. I used the lining fabric for my handle. Fold and iron each rectangle in half, matching the two four inch sides together. Open the fabric and fold in each side into the center crease made by ironing. Fold in half again and iron. Top stitch along each long side.

8. Loop each fabric rectangle through a metal ring and sew to the right side of outer bag, raw edges matching. Sew with a quarter inch seam allowance. I placed mine about four inches in from the side of the bag.

9. Turn outer bag right side out and place inside the lining (which should still be inside out). Stitch the tops of the two bags together with right sides facing. Leave a four inch opening. Turn bag right side out.
10. Press bag and top stitch around the top of the bag stitching your four inch opening closed.

11. Cut two 5.5 inch by 16 inch rectangles of fabric out of the same handle material used in step 7. Fold and iron the fabric as you did in step 7. This time also fold in the fabric ends. Top stitch around all sides.
12. Loop the fabric through the metal rings and stitch the fabric to itself attaching your handle.
That's it. This is probably one of the more complicated tutorials I have written, so if you have any questions please just comment or email me and I will try and answer. I think this bag turned out super cute and I can't wait to take it with me next weekend when I go visit my aunt.
Here are some shots of the finished project...


23 comments:
I love this! so great! I think the tutorial is very easy to read. I'm looking forward to trying it - I always need a new tote or basket.
Love this bag! The canvas, the ticking, the quote..oh my! Thanks for sharing :)
This is just the sweetest thing! Love the squatty shape, and you did a splendid job at your first piping attempt! yea!!! jules
That is adorable! It would make a great beach bag for me! Thanks for the great tutorial!
Your ideas just amaze me every time!!! That bag is awesome!!! Thank you so much for sharing the tut!! Have to get me some new fabric;)
xo
I am a bag addict and this one has to become part of my life! This is a great tut! Thank you for sharing!
That is so cute, thanks for the tutorial!
.... wow, absolutely fantastic !!!!!!!
Have a good time
Gabi
Very cute! You always make me wish I knew how to sew...
Wow, I really, really love this! The simplicity is so beautiful, the contrast of colors and the sweet phrase! You should consider selling this...I would def buy one from you!
Great tutorial!
Your bag has so much more interest than the inspiration piece. I love the ticking piping you used and the way you did your handles.
Questa borsa è deliziosa!!!
Grazie per la condivisione del tutorial!
Loryan
Love this. All of your projects turn out so lovely.
wow!! luv the bag!! very pretty:)
Great bag and tute!! TFS!! Stopping by from Creative Itch.
I just posted my finished project. When you have a moment, please stop by: http://craftybrooklynarmywife.blogspot.com/2011/05/wool-buffalo-check-coat-finished.html
Cute bag, great tutorial, and I LOVE that quote!! Thanks for linking @'Sew Cute Tuesday'!
Megan - your tote is adorable. I love the canvas and ticking fabric - looks fabulous! Thanks so much for linking to The Sunday Showcase Party - I greatly appreciate it. I have featured this Sunday. Have a wonderful week.
~ Stephanie Lynn
I found you through the Sew Cute Tuesday Blog Hop and I'm now following you. Thanks so much for this tutorial. I can't wait to get my sewing machine out and try this.
Have a great evening!
Something about being creative and being to show it off. Looks fantastic. Well done.
Just found your blog and I love this bag. I just emailed your link to my mom to see if she could sew me this for my Christmas gift - the piping is a little beyond me but I know she can do it. Love the red ticking, the quote - everything! Great job!
hi! i know it's six months later but i found a pic of this tote at yaybags.com [http://www.yaybags.com/2010/07/tote-bags-dont-suck-anymore-but-yes-they-do-cost-more-in-fact-one-language-cotton-canvas-tote-bags-rock/] who said "While out shopping at Nordstrom, I came across the One Language collection of great cotton canvas totes..."
and, BTW, LOVE the tutorial :)
MUITO LINDO A BOLSA,PARABÉNS PELO PAP.ME AJUDA MUITO,BJS.
Post a Comment