A few weeks ago I made a daffodil pillow using a free motion embroidery technique. I decided to make an herb pillow using the same font and technique as the daffodil pillow. I'm still perfecting my technique, but I think it looks very rustic and springy. Give it a try and thanks for reading!
Showing posts with label embroidery. Show all posts
Monday, March 5, 2012
Monday, February 13, 2012
return on creativity: daffodil pillow
It's super snowy here today, but I am ready for spring. I made this daffodil pillow this weekend. Daffodils are by far my favorite flower. I love the yellow color.
I did some free motion embroidery on this pillow. I first tried this technique on my shabby rose pillow. I'm still honing my skills with this technique so my pillow is not perfect, but I still really like it and I want to get better at this technique. Here is a great article on free motion embroidery that I found really informative.
Here's how I made my pillow:
1. I sketched a daffodil and combined my sketch with a script font to create my template. I printed both the sketch and the word bloom on white paper and cut them out. Then I pasted each to piece of 12 by 12 paper.
Here's my sketch.
Here's my template. I used the font The Only Exception.
2. I then used scotch tape to tape my template to the back of my pillow to prepare for tracing my design.
4. I put the darning foot on my sewing machine, dropped the feed dogs, and set my stitch length to 0. Then I started tracing my design with stitches by guiding the fabric under the needle.
5. Finally I sewed everything together into a 18 X 18 pillow cover.
Give free motion embroidery a try. I hope you like it as well as I do!
Labels:
embroidery,
Return on Creativity,
sewing
Tuesday, September 13, 2011
a big idea: embroidery hoop collage
Problem #1: My upstairs hallway walls are white and bare. Blah blah blah...
Problem #2: I'm not sure what to do with my vintage camera embroideries and shift key sampler. They are all shut away in drawers.
Solution = an embroidery collage!!!
I love it when two problems present a really creative solution. Of course now I have to work on some more embroideries. Four hoops do not a collage make!
While I'm working on stitching up some more, here is a collection of my favorite collages.
Problem #2: I'm not sure what to do with my vintage camera embroideries and shift key sampler. They are all shut away in drawers.
Solution = an embroidery collage!!!
I love it when two problems present a really creative solution. Of course now I have to work on some more embroideries. Four hoops do not a collage make!
While I'm working on stitching up some more, here is a collection of my favorite collages.
Labels:
A Big Idea,
embroidery
Sunday, September 11, 2011
return on creativity: shift key sampler
I love the history of embroidery samplers. Imagine little girls practicing stitches taught by their moms or grandmas (some undoubtedly enjoying it more than others); and women
This is an updated sampler with a modern, clean font (Arial). I'm seeing ampersands and @ symbols everywhere lately, so I decided to use the shift-key symbols rather than the alphabet.
This really is a practice piece, my first try at the satin stitch.
I used my light box to trace the symbols onto my fabric with a water soluble marker.
Here's my pattern.
To start the satin stitch I first backstitched around the symbol.
Then I completed my symbol with a satin stitch.
This was a great project for practicing the satin stitch; straight lines, circles, and negotiating curves.
Labels:
embroidery,
Return on Creativity
Wednesday, September 7, 2011
return on creativity: four seasons bean bags
Do you ever have a project that you work on...then put away...then work on...then put away.... I've been working on this project off an on all year. When I started this project I didn't think that four seasons of bean bags would take me four seasons to complete!
To make these bean bags I first cut fabric for the cubes.
Front and Back - 6 inch by 4.5 inch
2 Sides - 6 inch by 4 inch
Top and Bottom - 4 inch by 4.5 inch
Then I embroidered four trees to represent the four seasons.
For spring I used a lighter color green for leaves...
Oranges and yellows for fall with falling leaves...
Summer fruit (or small red buttons)...
A barren winter trunk with beaded snow flakes (my first try at beading!)
Here's a sketch of my tree...
I sewed the fabric into cubes. Cubes are more difficult than you might think and I got pretty frustrated until I found this tutorial which saved the day!
I filled my cubes with split peas. Each cube took about two pounds.
I like that these bean bags give me a new way to display embroidery. They are the perfect size for a window sill or you can just place them on the counter top.
I think these would be cute in a nursery with some kiddie embroidery or maybe embroider a little house on each one and create a whole town?
Labels:
embroidery,
printable,
Return on Creativity,
sewing
Tuesday, June 14, 2011
another take: retrohipmama vintage camera embroidery
I love seeing other people's takes on my tutorials. Didn't retrohipmama do a great job on her vintage camera embroidery? I just love that she "signed" it. I am definitely going to start incorporating this into my embroideries.
I'm so jealous of her crafting area (so much better than my crafting dungeon in the unfinished basement).
And check out her most recent post about Project Life (which is a really neat scrapbooking project...but I'll let you check out retrohipmama's blog to read all about it.)
You can find my vintage camera embroidery tutorials here:
vintage camera embroidery no.1
vintage camera embroidery no.2
vintage camera embroidery no.3
You can upload pictures of a crafty cpa inspired project to my flickr group.
Labels:
another take,
embroidery
Saturday, April 30, 2011
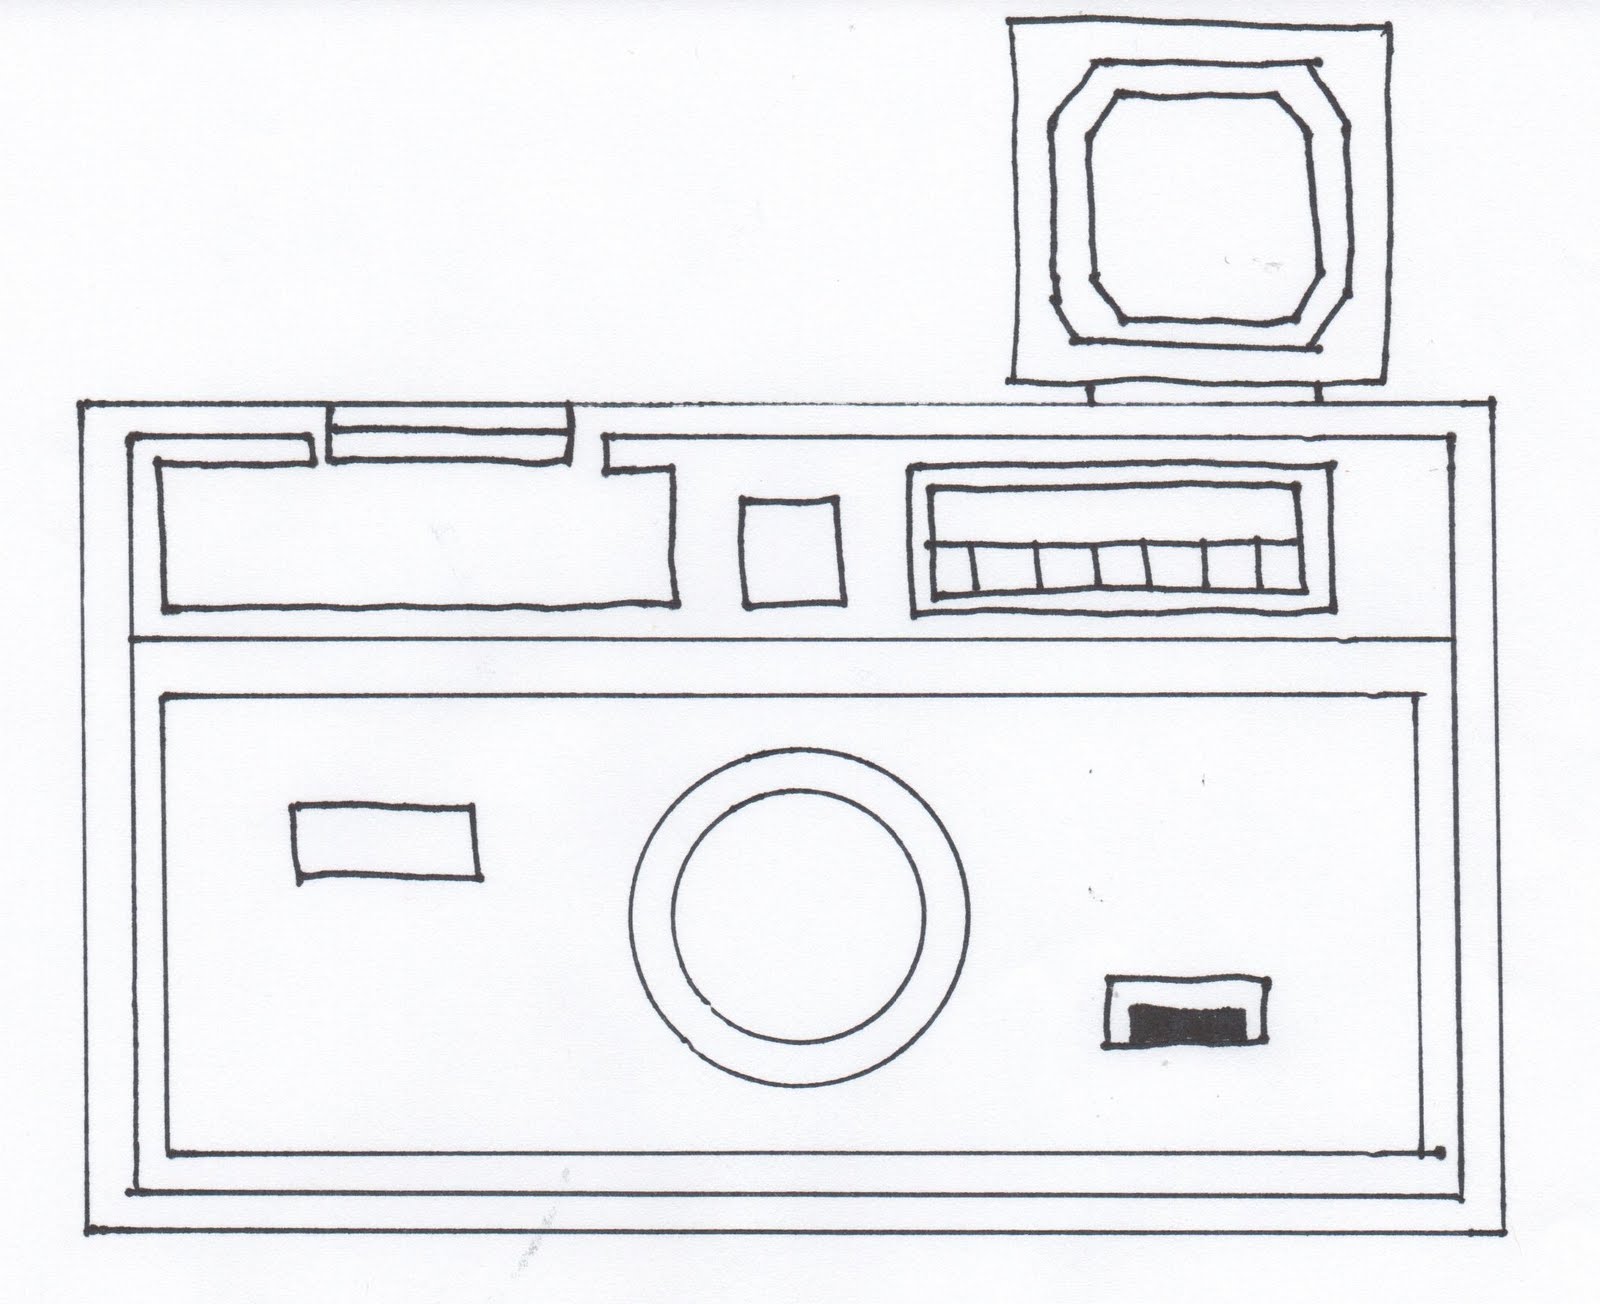
return on creativity: vintage camera embroidery no.3
I finished the third and final project in my vintage camera embroidery series. I can't wait to get them all on the wall together. Here are embroidery no.1 and embroidery no. 2.
The sketch for embroidery no.3 is above.
Back stitched again with black thread.
I varied six threads and two threads to create thick and thin lines.
Labels:
embroidery,
printable,
Return on Creativity
Wednesday, April 20, 2011
a big idea: more vintage camera embroidery inspiration
I noticed today as I was perusing Google Analytics that some folks are being directed to my blog by searching in Google for "vintage camera embroidery". That got me thinking that others must have created some vintage camera embroidery designs. So I did my own Google search and found the cutest embroidery patterns.
Don't you just adore the Polaroid embroideries? Also, I am totally in love with embroidery on printed fabric. Embroidering on prints is definately going on my "to do" list.
These patterns are for sale on Etsy if you'd like to give them a try.
I am currently working on camera number three in my vintage camera embroidery series. It's coming along nicely despite finishing our taxes at the last minute on Monday (did I mention that I am also a procrastinating CPA?) and a crazy busy time at work last week and this week. Is it the weekend yet?
Labels:
A Big Idea,
embroidery
Saturday, April 16, 2011
return on creativity: vintage camera embroidery no.2
This week I finished the second vintage camera embroidery in a planned series of three. See number one here.
To make, trace the image below onto fabric with a water soluble marker using a lightbox
Stitch the design with black embroidery thread using a backstitch.
I alternated thicker lines using six threads and thinner lines with two threads to provide some contrast.
When finished frame for hanging or hang in embroidery hoop. Or maybe attach fabric to the front of a photo album...
Labels:
embroidery,
printable,
Return on Creativity
Saturday, April 9, 2011
return on creativity: vintage camera embroidery no.1
Old cameras are beautiful. I love them so much I've decided to start a series of vintage camera embroidery wall hangings. Here's the first one.
To make your own:
1. Trace the image below onto fabric using a lightbox
or sunny window.
I traced the picture with a Sharpie onto a raw natural piece of muslin. I traced the circles with a water soluble marker so that I could true them up as I embroidered and "erase" them later.
2. Hand embroider design using a backstitch. I embroidered the design all in black.
3. Frame for hanging or trim excess fabric and hang in embroidery hoop.
Labels:
embroidery,
printable,
Return on Creativity
Subscribe to:
Posts (Atom)