Showing posts with label printable. Show all posts

Wednesday, September 7, 2011

return on creativity: four seasons bean bags


Do you ever have a project that you work on...then put away...then work on...then put away....  I've been working on this project off an on all year.  When I started this project I didn't think that four seasons of bean bags would take me four seasons to complete!

To make these bean bags I first cut fabric for the cubes.

Front and Back - 6 inch by 4.5 inch
2 Sides - 6 inch by 4 inch
Top and Bottom - 4 inch by 4.5 inch

Then I embroidered four trees to represent the four seasons.


For spring I used a lighter color green for leaves...


Oranges and yellows for fall with falling leaves...


Summer fruit (or small red buttons)...


A barren winter trunk with beaded snow flakes (my first try at beading!)

Here's a sketch of my tree...


I sewed the fabric into cubes.  Cubes are more difficult than you might think and I got pretty frustrated until I found this tutorial which saved the day!

I filled my cubes with split peas.  Each cube took about two pounds.


I like that these bean bags give me a new way to display embroidery.  They are the perfect size for a window sill or you can just place them on the counter top.  

I think these would be cute in a nursery with some kiddie embroidery or maybe embroider a little house on each one and create a whole town?

Sunday, July 10, 2011

return on creativity: lil carnation tote bag


I am really feeling inspired by applique right now.  I sketched a carnation for this tote bag.  I love that this flower is on a bright red background.  Red is by far my favorite color.

I modified my bag construction a bit from the lil tree tote bag.  It's a bit wider and the bottom is a little boxy which I think gives the bag a nice shape.

Here's how to make this bag:

1.  Cut four 14 inch squares of fabric.  Two from the outer bag fabric and two from the lining fabric.  I used a home dec weight fabric for the outer bag fabric so I did not add any interfacing to this bag.

2.  Trace the flower and stem designs onto the paper side of some Wonder Under fusible web.  I've included my carnation design below.


3.  Iron the Wonder Under to the wrong side of the fabric you are using for the flower and the stem.  I used white fabric for the flower and green fabric for the stem.  Cut out the designs and remove the paper backing.

4.  Iron the flower to the right side of one of the outer bag squares.  Then place and iron on the stem.


5.  Stitch around the design using a straight stitch on your sewing machine.  Sew very close to the edge of the fabric.  I used black thread since my lining and straps are black.


6.  Put right sides of the outer back squares together and sew around three sides, leaving the top of the bag open.  Use a half inch seam allowance.

7.  Make a boxed corner on the bag by following the steps below:


Fold the  bottom corner into a point.


Measure one inch from the corner stitching and mark with a water soluble marker across the point.


Sew along the marked line.


Cut off excess fabric and repeat on other corner.

8.  Repeat steps 6 and 7 with the lining fabric.

9.  Cut two 18 inch lengths of belting and sew to the right side of the outer bag with seams matching.  Place the straps about two inches in from the seams of the bag.


10,  Place the outer bag inside the bag lining with right sides facing.  Sew around the top of the bag leaving a three inch opening.  Make sure the straps are tucked in.


11.  Pull the outer bag through the opening and turn the lining into the bag.  Top stitch around the edge of the bag, sewing the opening closed.

There you have it.  I think these little tote bags could make lovely gifts, especially if you tuck more goodies inside.  Happy sewing!


Saturday, June 25, 2011

return on creativity: lil' tree tote bag


Here's how to make this cute lil' appliqued tote bag.

1.  Cut six 11 inch by 14 inch rectangles of fabric; two from the outer bag fabric, two from the lining fabric, and two from Craft Fuse interfacing.

2.  Iron the Craft Fuse interfacing to the wrong side of the outer bag fabric rectangles.  (I first used Craft Fuse on my ruffled sunglass case and I like the weight it adds to fabric for bags.  However, this step is optional.)

3.  Trace a tree truck onto the paper side of Wonder Under fusible web.  I've provided my tree trunk drawing below.


4.  Iron the Wonder Under onto the wrong side of the fabric you would like to use for the tree trunk.


5.  Cut out the tree trunk, peel off the paper backing, and iron onto the right side of one of the outer bag rectangles of fabric.


6.  Using a straight stitch sew the trunk to the fabric staying close to the edge.  (Take your time and go slow.)


7.  Iron Wonder Under onto the wrong side of the fabric you want to use for the tree circles.  Trace circles onto the paper side and cut out.  My circles have a 1.75 inch diameter.


8.  Remove the paper backing from the circles and iron onto the tree.


9.  Using a zig zag stitch sew around the circles.  Go slow and turn the fabric as you sew.  You may need to stop from time to time and turn the fabric without sewing to make a tight turn (always with your needle in the down position holding the fabric in place).


10.  I'm not sure what this stuff is called (below), but I cut two seventeen inch lengths for straps and sewed the ends to the right sides of the outer fabric two inches in from the side of the bag.  Use a quarter inch seam allowance.  Match the raw edges of the fabric and the straps together.


11.  Put the right sides of the outer fabric together and sew three side together with a half inch seam allowance.  Leave the top open.  Repeat with the two lining fabric rectangles.

12.  Turn the outer bag right side out and place inside the lining fabric.  Sew around the top of the bag with right sides of the fabric facing each other.  Leave a three inch opening.


13.  Pull the outer bag through the opening and turn the lining inside.  Top stitch around the top of the bag sewing the opening closed.  I top stitched another row of stitches about a quarter inch below the first.

14.  Enjoy your bag!

Saturday, April 30, 2011

return on creativity: vintage camera embroidery no.3


I finished the third and final project in my vintage camera embroidery series.  I can't wait to get them all on the wall together.  Here are embroidery no.1 and embroidery no. 2.

The sketch for embroidery no.3 is above.


Back stitched again with black thread.


I varied six threads and two threads to create thick and thin lines.


Saturday, April 16, 2011

return on creativity: vintage camera embroidery no.2


This week I finished the second vintage camera embroidery in a planned series of three.  See number one here

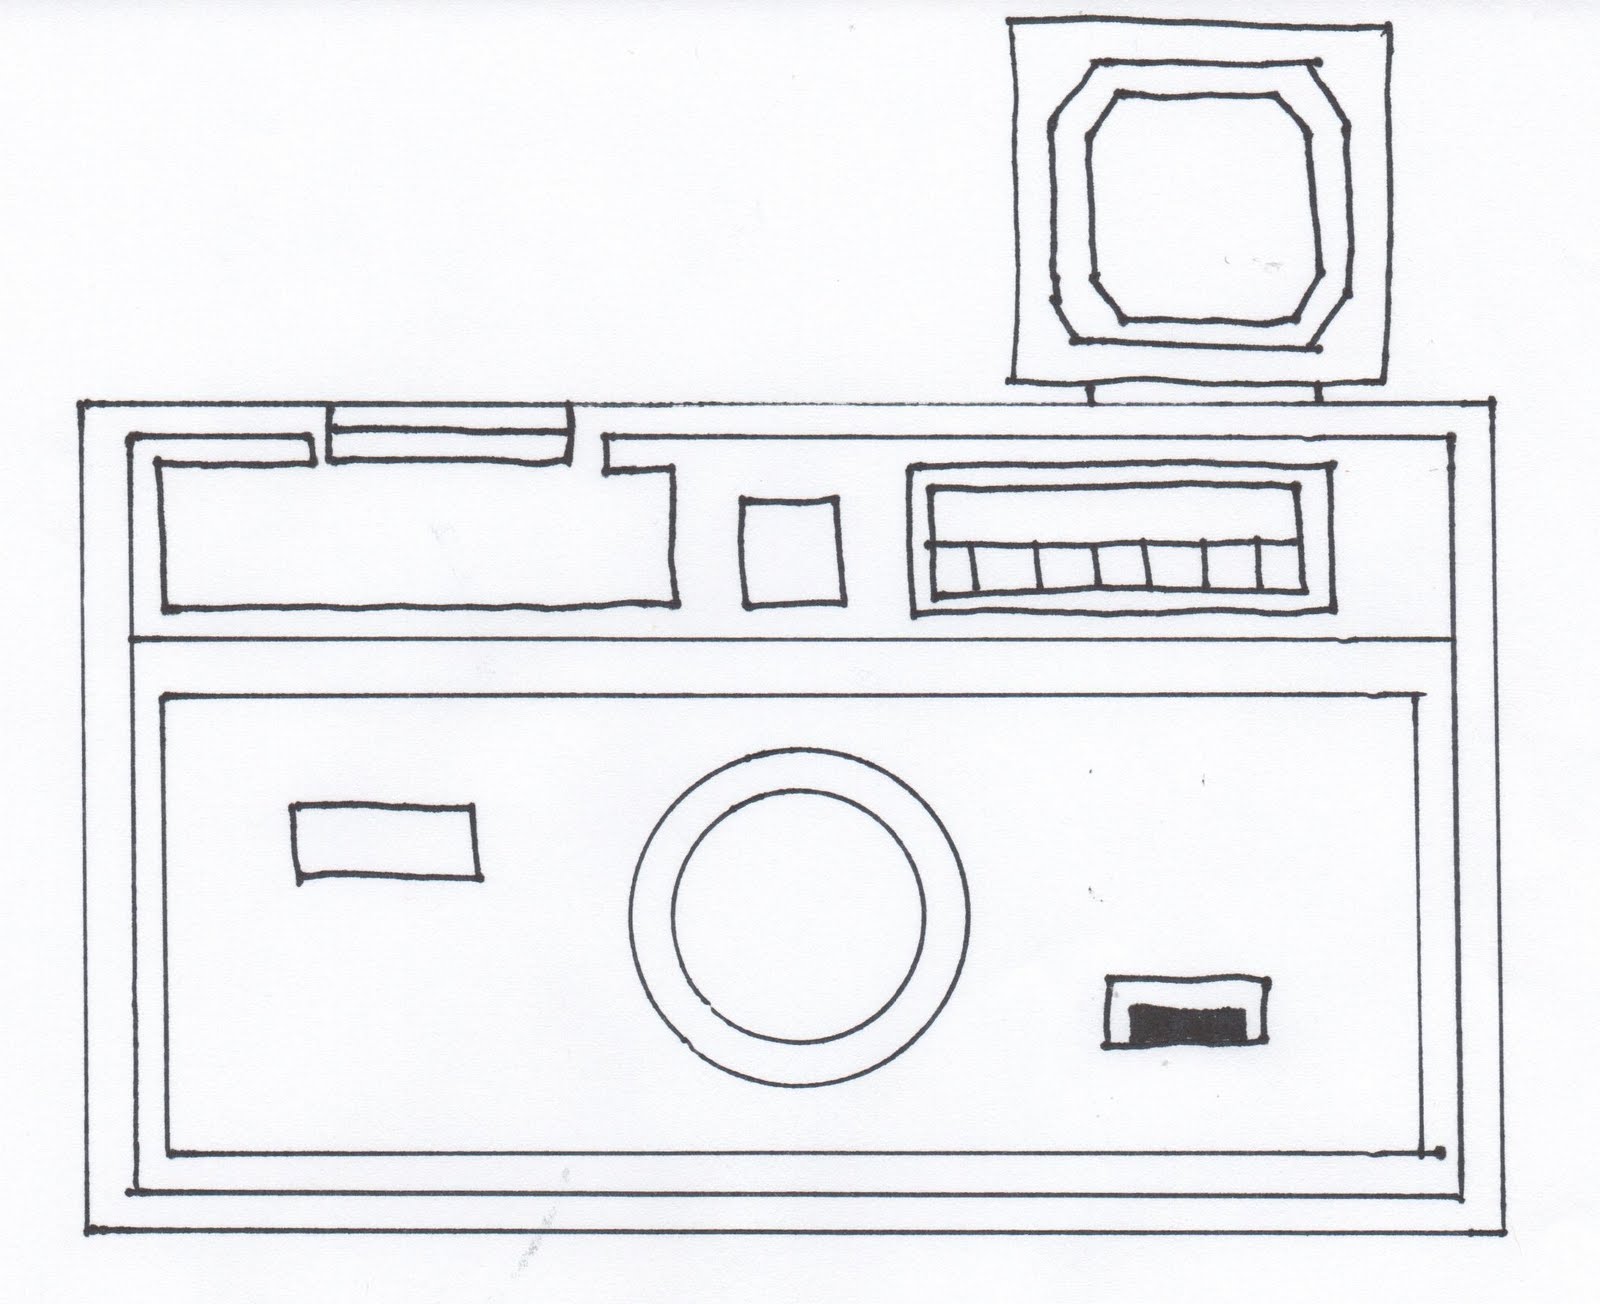
To make, trace the image below onto fabric with a water soluble marker using a lightbox or sunny window.  I choose a natural looking nubby muslin for my fabric.


Stitch the design with black embroidery thread using a backstitch.


I alternated thicker lines using six threads and thinner lines with two threads to provide some contrast.


When finished frame for hanging or hang in embroidery hoop.  Or maybe attach fabric to the front of a photo album...

Saturday, April 9, 2011

return on creativity: vintage camera embroidery no.1


Old cameras are beautiful.  I love them so much I've decided to start a series of vintage camera embroidery wall hangings.  Here's the first one.

To make your own:

1.  Trace the image below onto fabric using a lightbox or sunny window.


I traced the picture with a Sharpie onto a raw natural piece of muslin.  I traced the circles with a water soluble marker so that I could true them up as I embroidered and "erase" them later.


2.  Hand embroider design using a backstitch.  I embroidered the design all in black.


3.  Frame for hanging or trim excess fabric and hang in embroidery hoop.
Related Posts Plugin for WordPress, Blogger...