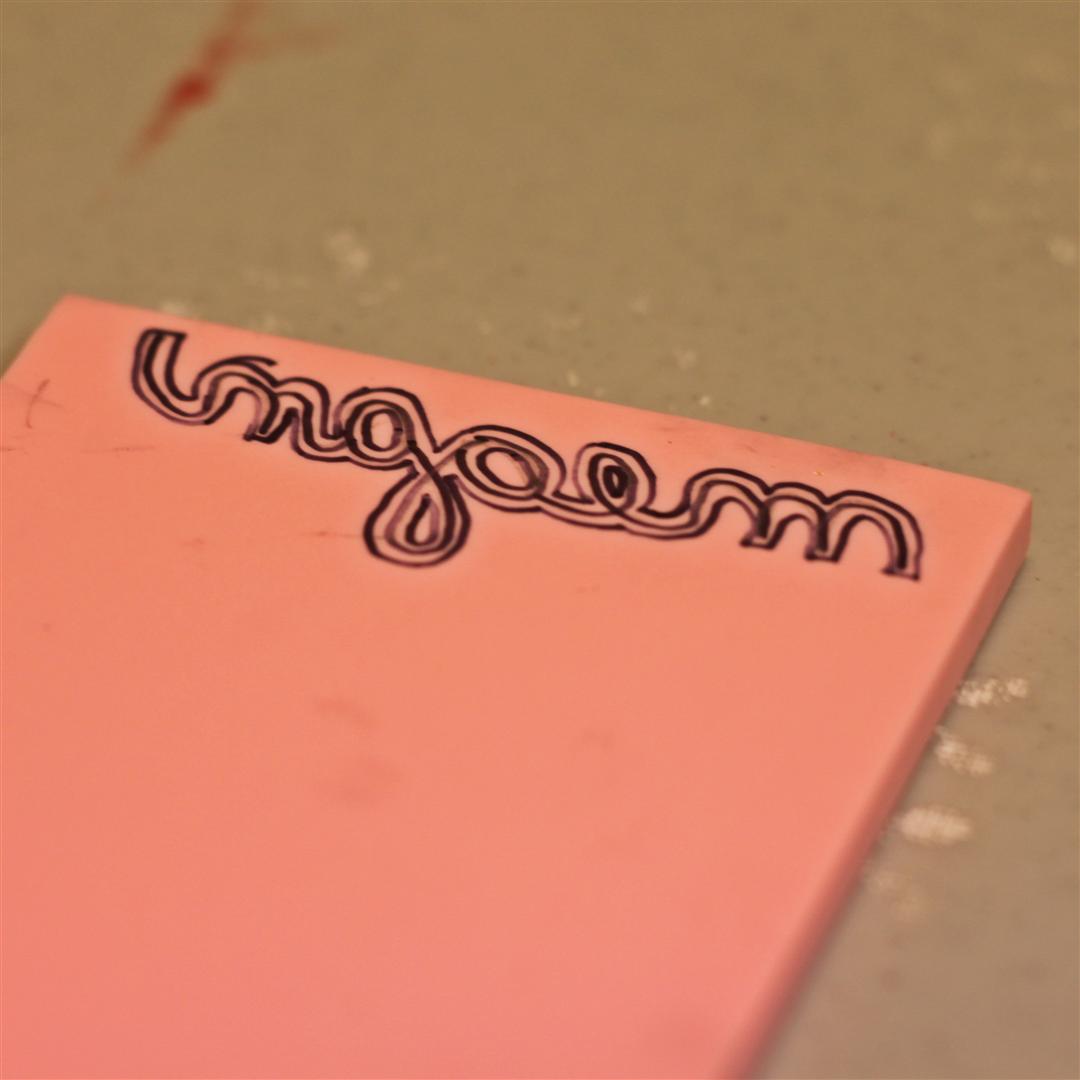
Have you ever carved your own rubber stamp? It's kinda intimidating, kinda scary, and kinda fun all at the same time. I really wanted a stamp of a "vintage" eighties computer. So I decided to try and make my own from a drawing.
I started out by reading
this website. Then I went to the store for supplies. I bought one set of carving tools and two hunks (that's a technical term) of rubber to carve.
First I tried to carve the cheaper rubber that drew me in with its small price tag and the fact that it was already mounted on wood.
It was hard to carve and I was not happy with the results. It says it cuts like butter, but it doesn't say that it cuts like butter that has been in the freezer. Here is my first try.
Then I cut up the more expensive
Speedy Carve.

It really did cut like butter. No even better, it cut like butta. So easy and fun. Here is my result.
Let me talk a little bit about how I transfered the design onto the stamp before carving. The website mentioned using a laser printer and an iron, but since I don't have a laser printer I used the pencil method. First I rubbed the back of my drawing with a pencil and then I traced the drawing onto the rubber block with the pencil side down.
This worked great on the cheaper block, but came out very splotchy on the "butta" block. Next time I will trace the drawing in pencil, place it face down on the rubber and try and rub it onto the rubber with a straight edge.
I stamped my design onto a journal cover to create a blog idea book that I could slip into my purse for those times when inspiration strikes when I'm not at home.


 (various sizes)